This post demonstrates a way to publish a simple rmarkdown website on GitHub Pages that can be edited in the browser by non-git users. The user interface is powered by the Netlify CMS.
Objective
Generating web content with R Markdown is awesome, and a great (free!) place to host such work is on GitHub Pages. The only not-great part is when you want to crowdsource content creation/editing to collaborators who do not use git. A good example would be a team-wide wiki. The Netlify CMS can solve this, and this post describes how to make it work with R Markdown web content published to GitHub Pages.
Create a website
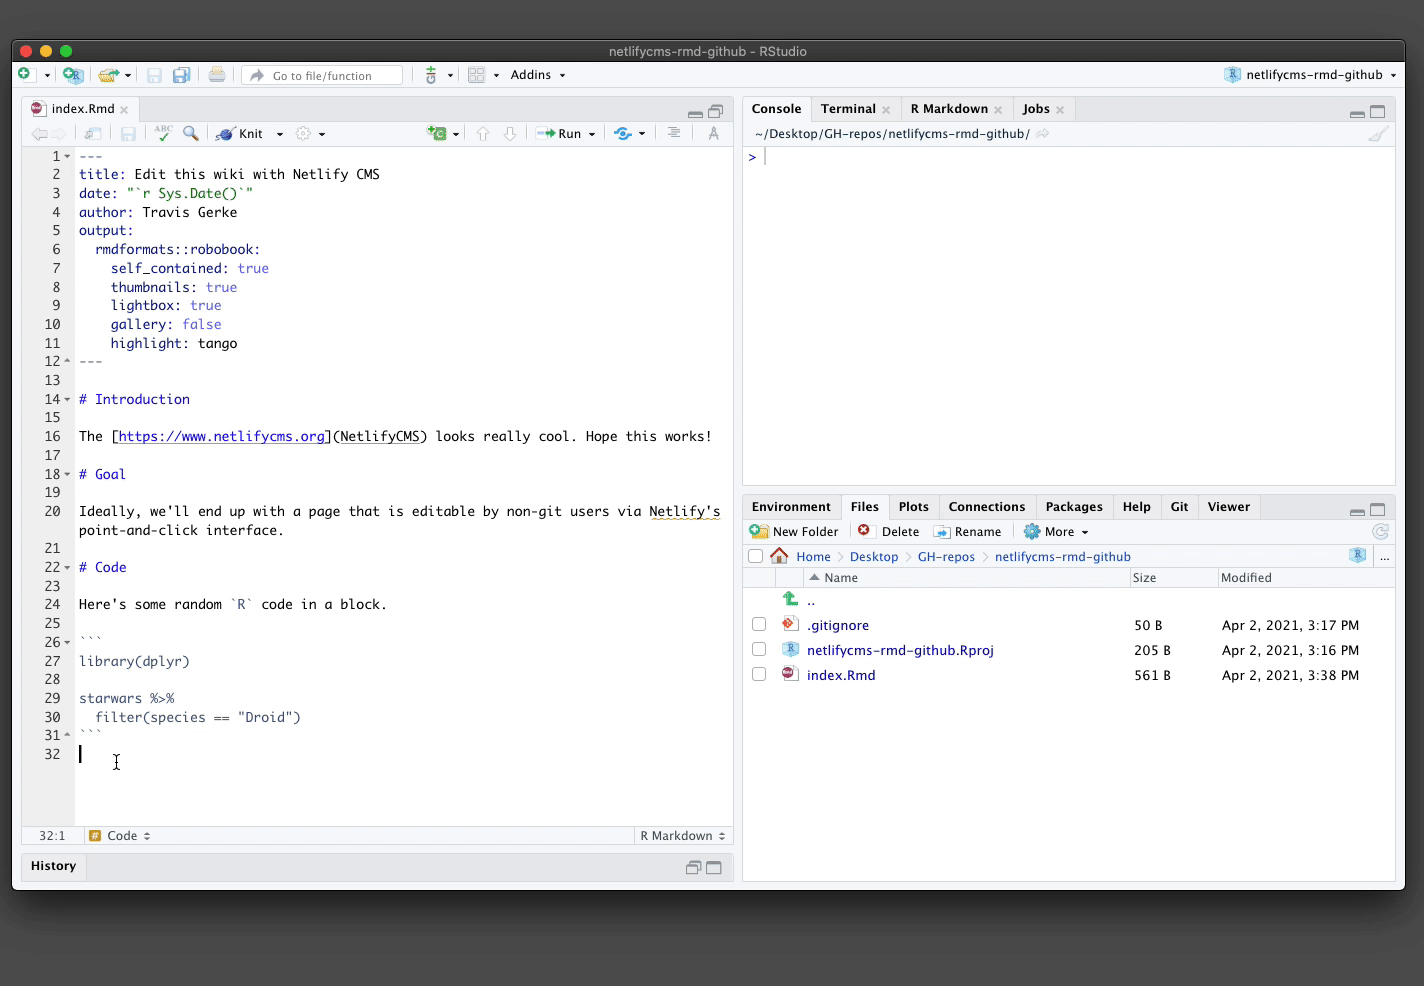
We can quickly put together a nice-looking site with the help of the rmdformats package. First, create a new R project, and drop a new index.Rmd into the directory with yaml header like the following:
---
title: Edit this wiki with Netlify CMS
date: "2021-04-02"
author: Travis Gerke
output: rmdformats::robobook
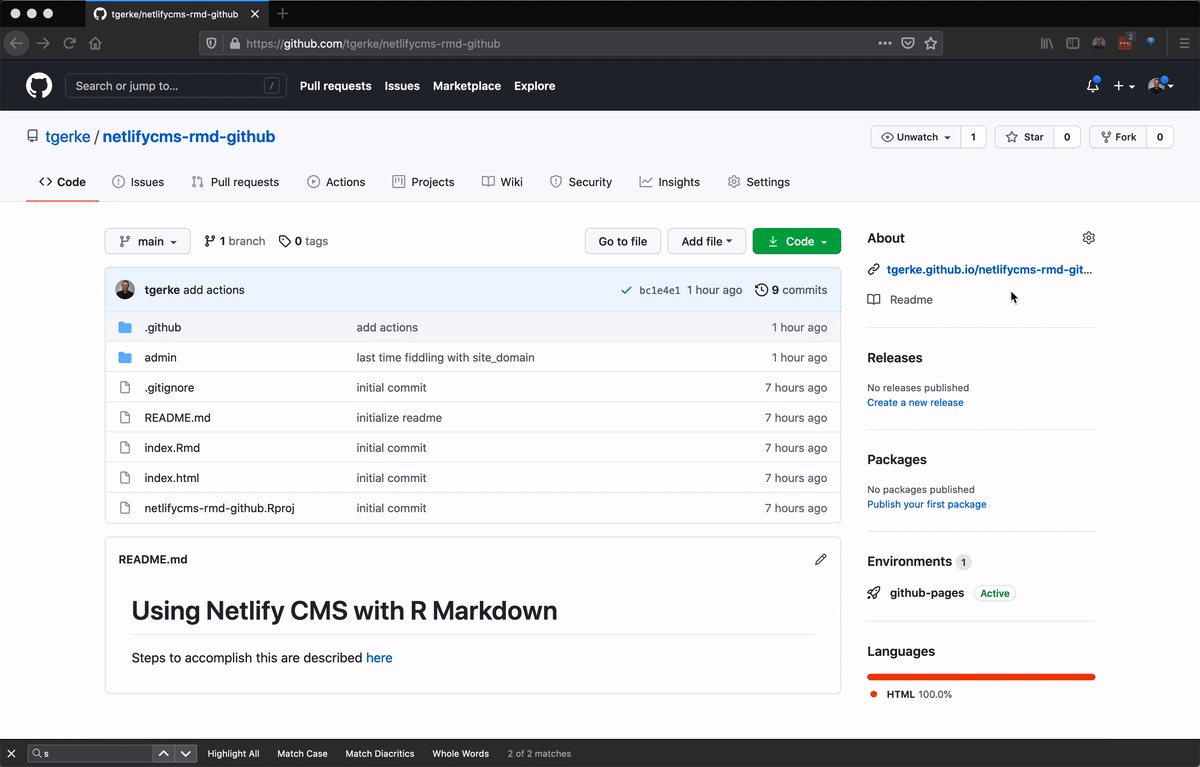
---Then, you can type some markdown as you usually would to produce content. Here’s the little demo site I initiated (code at https://github.com/tgerke/netlifycms-rmd-github)
Next, push this directory up to a GitHub repo and publish it to GitHub Pages (a process which has been excellently described by Emily Zabor).
Set up Netlify’s required admin/ directory
Following instructions from Netlify CMS, the admin folder will have two files: index.html and config.yml. The html file is the entry point for the (non-git) user interface, and the yml file has important configuration options. You don’t have to edit index.html at all, while config.yml takes some work to make it understand the R Markdown approach we’re hoping for.
Here’s a general structure that will allow CMS editing of specific .Rmd and .md files (in this case, index.Rmd and README.md). You can open up whole directories too with the folder: specification (details here).
backend:
  name: github
  repo: you/your-repo
  branch: main
  site_domain: your-optional-netlify-link.netlify.app

site_url: https://you.github.io/your-repo/

media_folder: "images/uploads"

collections:
  - name: "Rmd Pages"
    label: "Rmarkdown"
    format: "yaml-frontmatter"
    files:
      - label: "Index"
        name: "index"
        file: "index.Rmd"
        fields:
          - {label: "Body", name: "body", widget: "markdown"}
  - name: "Markdown Pages"
    label: "markdown"
    files:
      - label: "readme"
        name: "readme"
        file: "README.md"
        fields:
          - {label: "Body", name: "body", widget: "markdown"}
Register Netlify CMS in GitHub OAuth
Go to https://github.com/settings/developers to generate an OAuth App with Netlify. The application name and homepage URL don’t matter (I put Netlify CMS and https://tgerke.github.io/, respectively), but for Authorization callback URL we need https://api.netlify.com/auth/done. Keep the client ID and client secret for the next step!!!
Register GitHub as an OAuth provider in Netlify
Within Netlify.com, connect your GitHub repository as a site (some tips to do this from Alison Hill), and go to settings. On the left-hand bar, find Access control: in the OAuth section here, add GitHub as a provider and copy over the client ID and secret from the previous step.
Set up GitHub Actions to build the site
At this point, the Netlify CMS is actually functional, and you/users would be able to edit via the CMS interface. One extra step is needed though: you will be editing .Rmd files through the interface, and the html site needs to be rebuilt when edits are complete. We’ll use GitHub Actions to do that. I’ve discussed these steps previously; in short, the workflow comes from r-lib/actions and if you copy my .github/ directory here it should work for you as well.
And now, magic happens
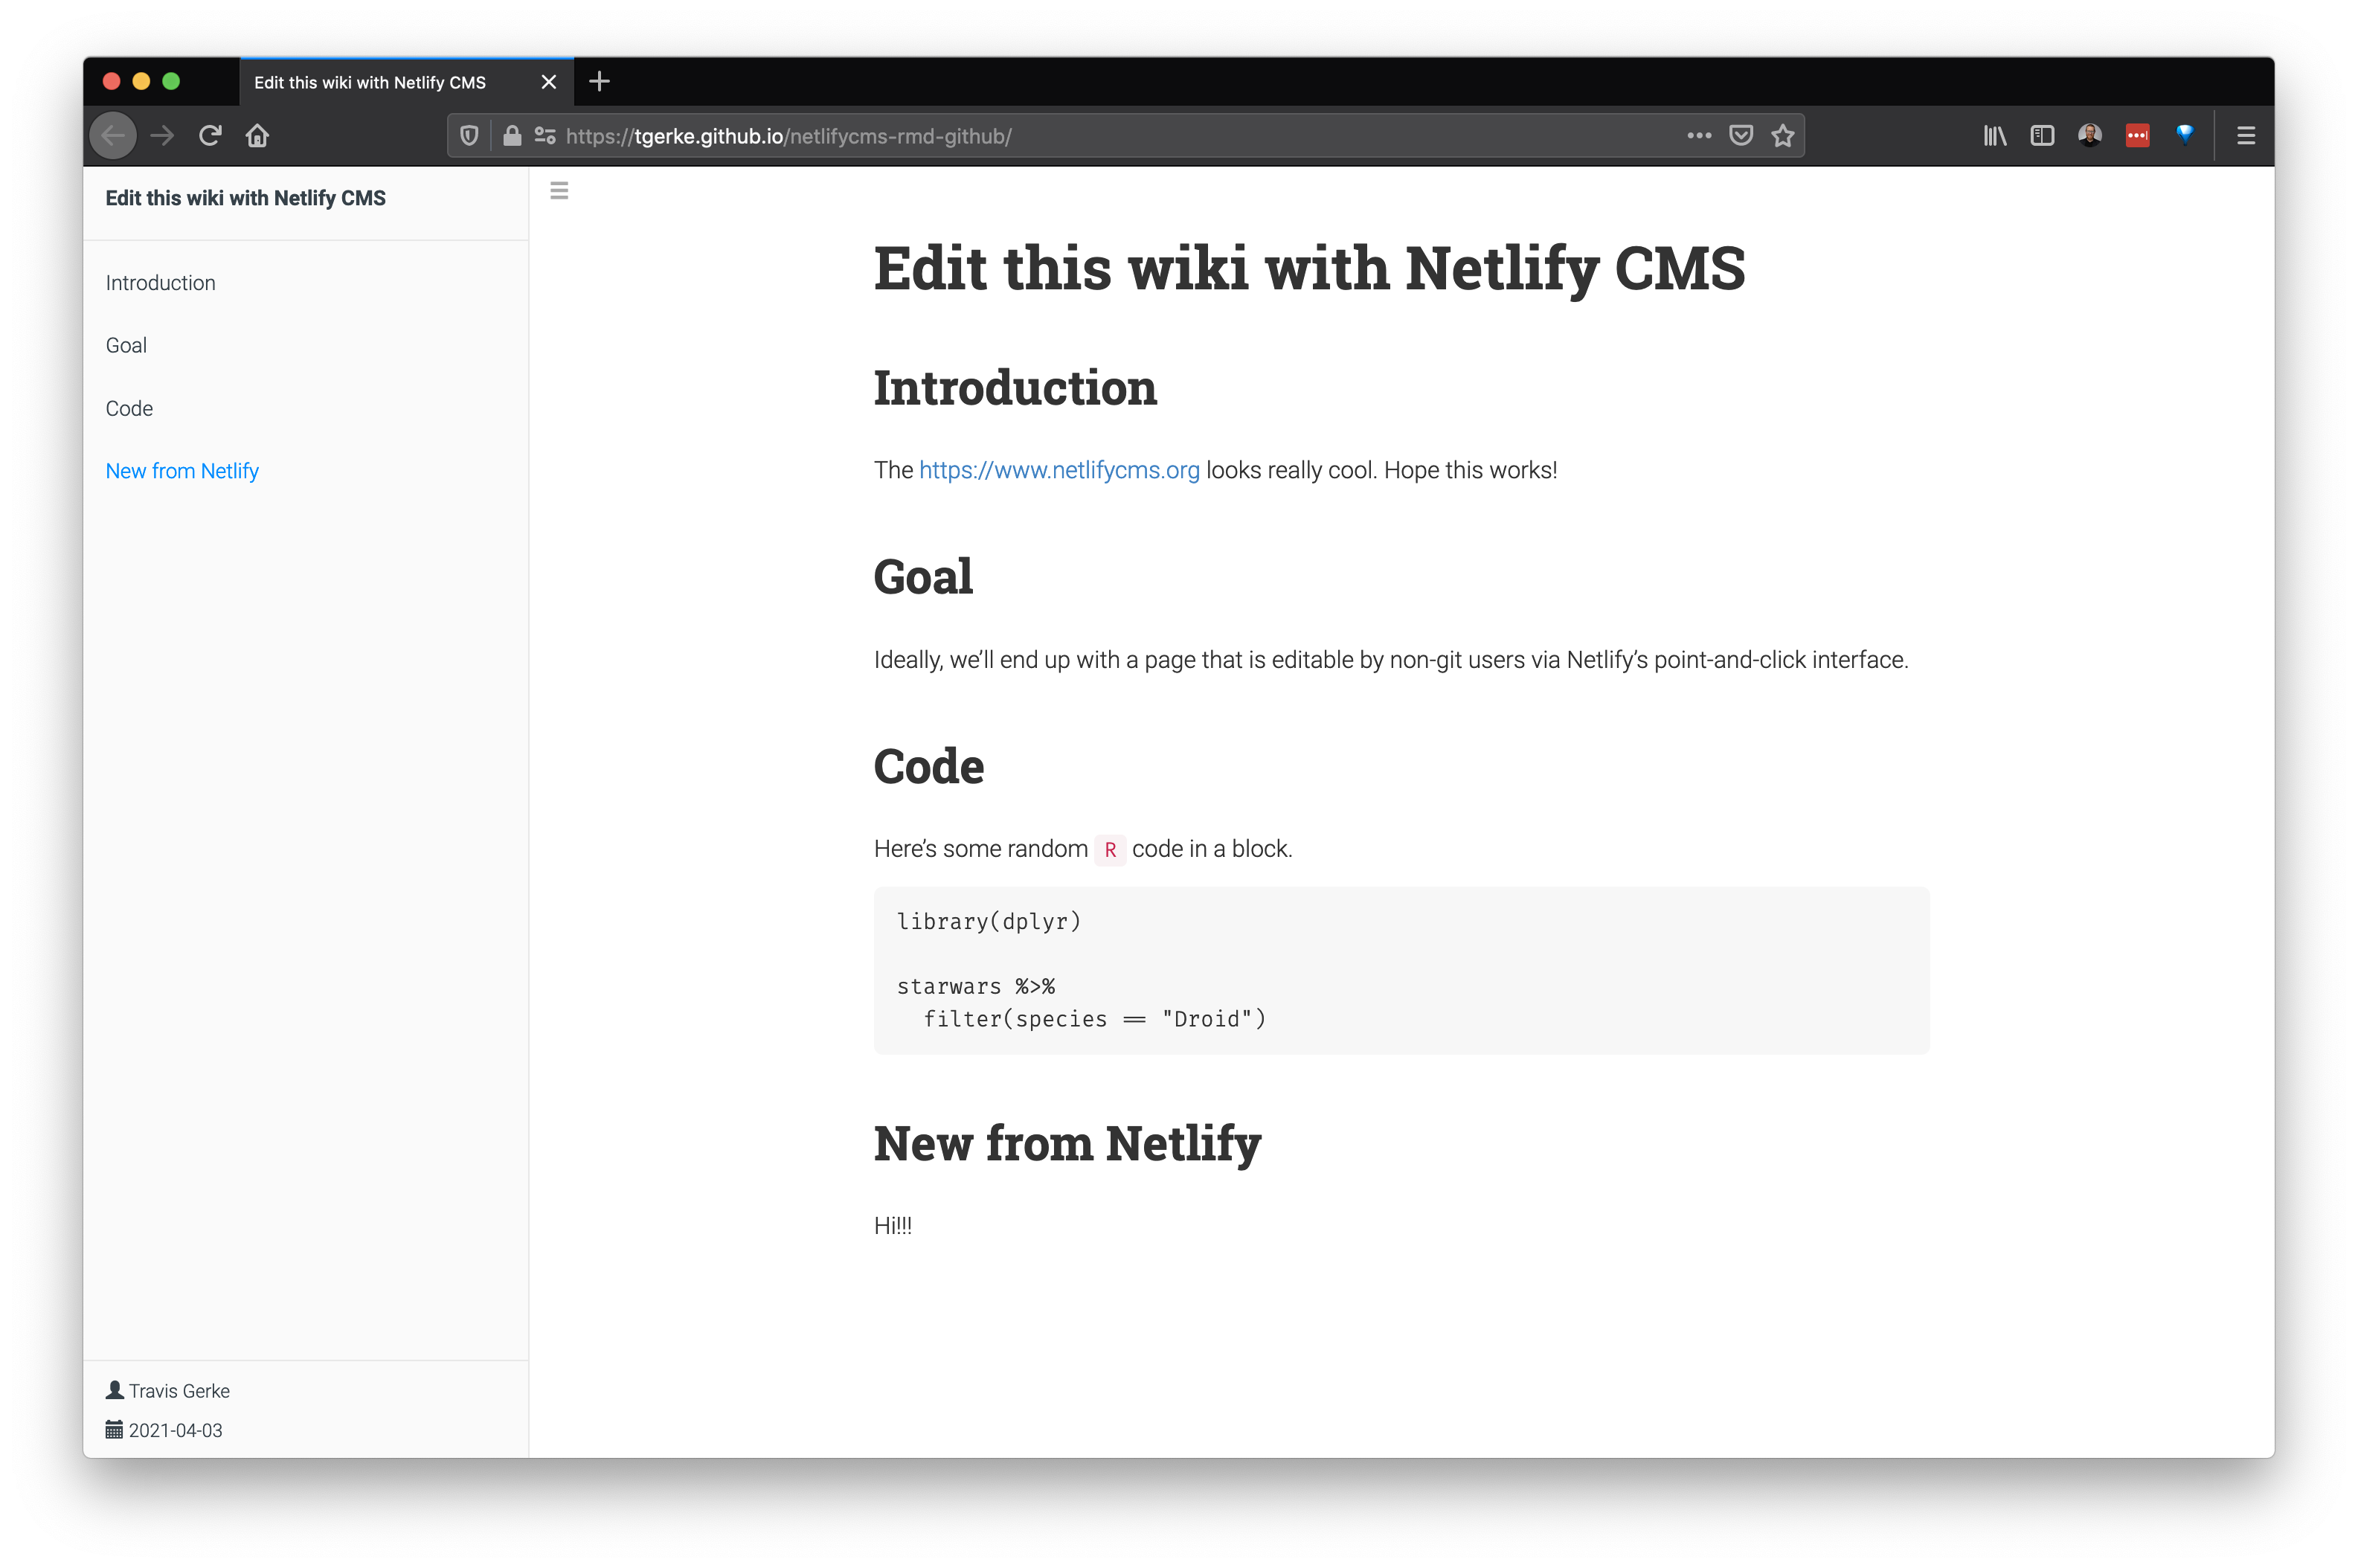
The moment you’ve been waiting for: append your site URL with /admin to access the Netlify CMS editor page. Edit. Publish. (Behind the scenes, a push to Main automatically happens, then Actions takes over and rebuilds the site). Like this:
Wait a minute or so, and after the GitHub Actions build you see the result on GitHub Pages:
Happy developing 😎
Full code at https://github.com/tgerke/netlifycms-rmd-github with rendered page at https://tgerke.github.io/netlifycms-rmd-github/.